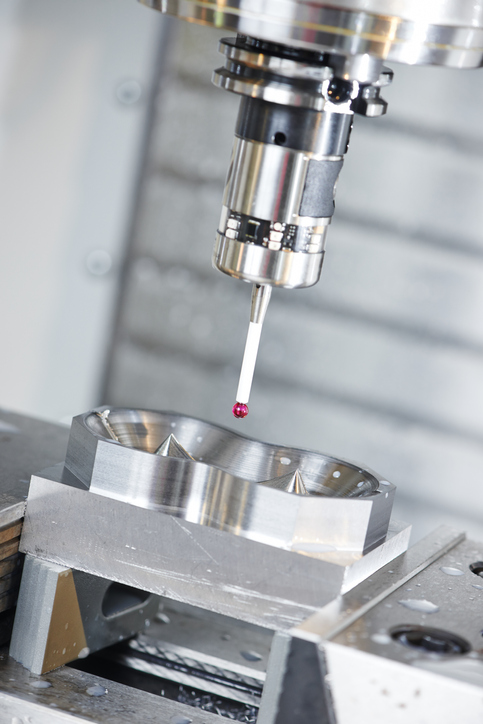
Measuring Surface Finish on a Plastic Part using GD&T Principles and Profilometers

Surface finish is a critical aspect of many plastic parts, as it can affect the part’s performance and aesthetic appeal. To ensure that the surface finish of a plastic part meets specifications, it is important to use proper measurement techniques that are accurate and repeatable. In this post, we will discuss the use of Geometric Dimensioning and Tolerancing (GD&T) principles and profilometers for measuring surface finish on a plastic part.
What is Surface Finish?
Surface finish refers to the roughness, waviness, and lay of a surface. In other words, it is characterized by the micro-geometry of the surface, including the size, spacing, and distribution of surface features. These features can include surface roughness, such as peaks and valleys, and surface waviness, which refers to the undulations in the surface.
Why is Surface Finish Important?
Surface finish is important for a variety of reasons. For example, it can affect the performance of a part by influencing factors such as friction, wear, and corrosion resistance. Additionally, a smooth surface finish can improve the aesthetic appeal of a part and increase its marketability.
How is Surface Finish Measured?
There are several methods for measuring surface finish, including visual inspection, tactile inspection, and instrumentation-based measurements. The most commonly used instrument for measuring surface finish is a profilometer. Profilometers use a stylus to scan the surface of the part and measure the variations in surface height. Then, the data collected by the profilometer is processed to calculate the roughness parameters of the surface, including roughness average (Ra), root mean square roughness (Rq), and more.
Using GD&T Principles for Surface Finish Measurement
In order to ensure that the surface finish of a plastic part meets specifications, it is important to use a consistent and repeatable measurement method. This is where GD&T principles come into play. GD&T is a system of symbols and rules used to define the size, shape, orientation, and location of a part. With GD&T symbols and rules, designers can specify the surface finish requirements of a part, including the maximum and minimum allowable roughness parameters.
For example, the GD&T symbol for surface finish is a wavy line that is placed adjacent to a feature of size. The wavy line represents the surface roughness and the number next to it represents the maximum allowable roughness in microinches (µin). By specifying the surface finish in GD&T, designers can ensure that the part is manufactured to the correct specifications and that the surface finish is accurately measured.
Conclusion
Measuring surface finish on a plastic part is an important step in ensuring that the part meets performance and aesthetic specifications. By using GD&T principles and profilometers, designers can specify the surface finish requirements of a part and ensure that the measurement is accurate and repeatable. By using these techniques, manufacturers can produce high-quality plastic parts that meet the needs of their customers.
For more information on how we can help you achieve a desired surface finish, please reach out to our engineering department at the number on our contact page.
